Monday, November 29, 2010

Walnut Tenor Banjo

Close up showing the black/maple checkerboard purfling.

Walnut rim, neck and resonator
Inlaid Abalone and Mother-Of-Pearl
Walnut rim with maple bottom edge. Figured walnut neck with ebony and maple cap
Burled walnut resonator with concentric rings
Mother-Of-Pearl fingerboard inlays
The complete "pot" assembly

Tuesday, September 21, 2010

Tenor Banjo Project

The one on the left is a short scale open back tenor. The one on the right is a modern scale resonator tenor. Both are set up for playing Irish music.
 
The headstock finished featuring an original inlay design of mother-of-pearl and abalone.

 
The flange pieces were custom made for me from my original design. They are laser cut from stainless steel and nickel plated.

 
The maple neck and resonator were stained in a sunburst of amber and browns and then sprayed with clear lacquer.

 
The open back was made from maple and walnut and left natural with a clear finish.

 
The "pot" assembly. The wood rim is made of walnut with a maple bottom cap. The tenor banjos have an archtop tone ring mounted on the wood rim.


Finished parts ready to be assembled.
 
Making the necks of maple and walnut. The foreground necks are four-string tenors and the background neck will be a five-string.

Sunday, September 5, 2010

Counting Down

It's up to $1325 with 11 hours to go!

Wednesday, September 1, 2010

See And Hear


Here is a video of me playing "Blue Eagle" and "Cattle In The Cane."
(And, yes that is an old-school Hi-8 Video camera. I couldn't get rid of the display in the corner of the screen.)

Sunday, August 29, 2010

Start the Bidding!

The mandolin is now being auctioned at the address below. All the money from the sale will go toward scholarships for music students to attend an Irish music camp, school or other musical program. To watch the auction, or better yet, to bid, go here:
http://cgi.ebay.com/ws/eBayISAPI.dll?ViewItem&item=120615232087&ssPageName=STRK:MESELX:IT

Tuesday, July 6, 2010

Finished!

Front and back.

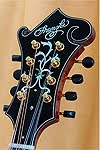
 The headstock with the "fountain" inlay.

Side view.

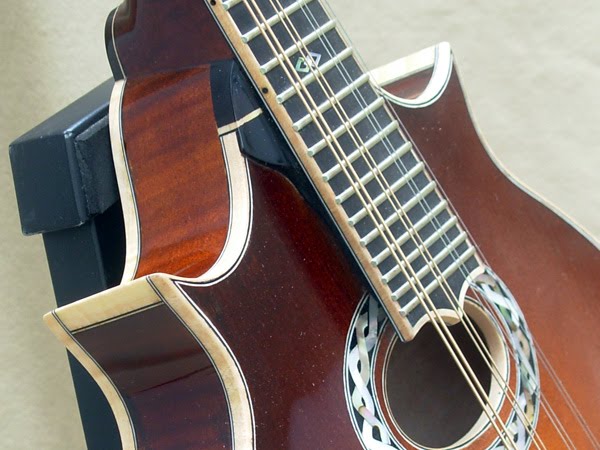
Close-up.

The interwoven pearl/abalone inlaid rosette.

Attaching the tuners.

A piece of adhesive-backed 120-grit sandpaper is stuck onto the top and the bridge is moved back and forth to make the bridge bottom conform perfectly to the arched shape of the mandolin top. The bridge is attached to a jig to hold it perpendicular while sanding.

Thursday, July 1, 2010

Buffing The Finish

Ooohh...shiny!

A close-up of the peghead.
That's a high-gloss finish!
The third and final buffing.
Changing pads for level 3 buffing compound. You must always use a dedicated pad for the different compounds or you will end up with scratches in the finish.
Charging the second buffing pad with level 2 compound.
After the first buffing, it looks quite a bit glossier. It will get glossier yet with two more buffs.
I use a power buffer spinning at 850 rpm with a coarse compound to buff out the fine scratches from the hand sanding. I keep the instrument moving with only slight pressure against the wheel to keep it from getting too hot and melting the lacquer.
After sanding the entire mandolin with 1000 grit, and 1500 grit papers, I used 1800, 2400, and 3200 grit Micro Mesh pads. Now the lacquer is perfectly smooth and flat and has a satin finish.