Monday, June 14, 2010

Level Sanding The Finish

After the lacquer has dried for at least 24 hours, the entire mandolin is very lightly sanded with 320 grit free-cut sandpaper. Then it gets another 3 coats of lacquer, sanded with 800 grit and sprayed once more. Now I'm using 1500 grit and a foam pad to level the finish coats. This dulls down the gloss to an even matte. If there are any shiny spots, it means I'm not there yet.

 On the headstock face, I use a wooden block with the sandpaper to make sure it stays perfectly flat.

Every square inch must be sanded. I like to watch or listen to a KC Royals game while I'm sanding. It takes a good nine innings to level sand a mandolin. Sometimes I need extra innings.

Inspector #12 uses his cat-like senses to discern even the slightest imperfections in the finish.

"You missed a spot."

Wednesday, June 2, 2010

The Finishing Process

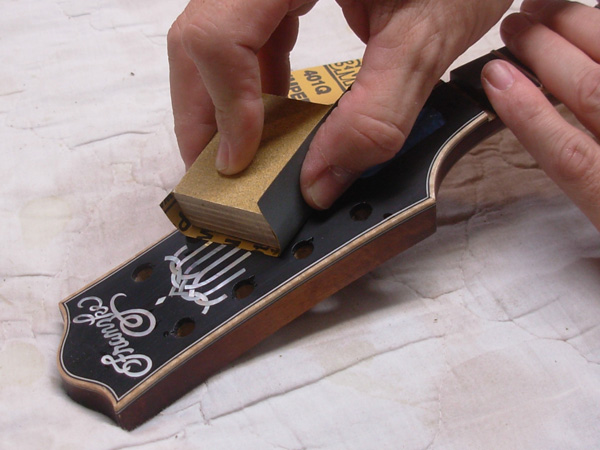
After the stain is dry and the bindings are all scraped of any color bleed, clear lacquer is applied. When enough coats have been sprayed, it sits overnight to fully dry. Then it is lightly sanded and more clear coats are applied.
 
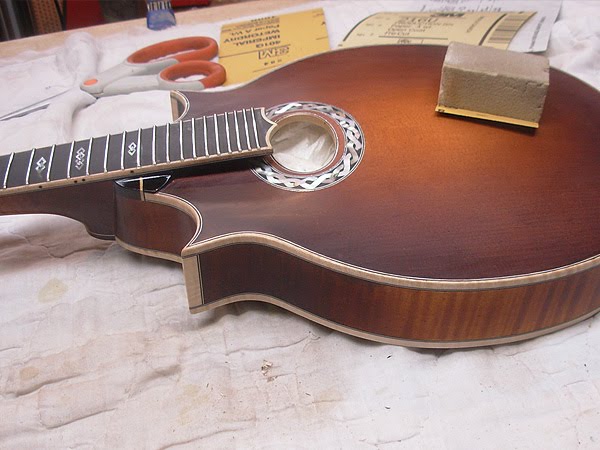
The stains are first applied by hand starting with the amber color in the center, and then browns are worked around the edges. I then use an airbrush to darken the area around the perimeter for a dramatic look.
 
I created my colors using concentrated liquid stains mixed with denatured alcohol. The stain really brings out the flamed figure in the maple.
All masked off ready to apply the stains.
Before applying the stain, I masked off all the bindings. There will be a little bleed through that will need to be scraped off, but this at least protects most of it and keeps the tedious scraping to a minimum.